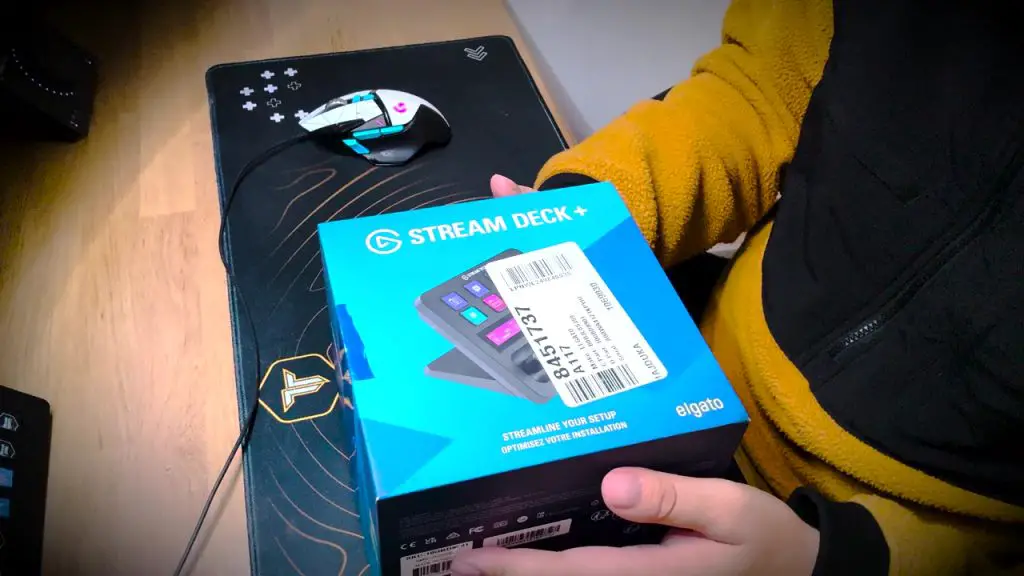
Purchasing tech from auction sites can be a gamble, and sometimes, you win big. In this case, I got an Elgato Stream Deck Plus for only £55 (retail price: ~£270). However, when it arrived, I discovered the LCD screen was malfunctioning (No Suprises there!). Determined to make this Amazon return work, I embarked on a very long repair journey that eventually paid off. I see a lot of issues with this product online and I beilve I’m the ONLY person who has actually fixed this thing!
This blog walks you through how I diagnosed, disassembled, and finally repaired the Stream Deck + through sheer determination, hard work and eventually replacing the screen!
The Problem
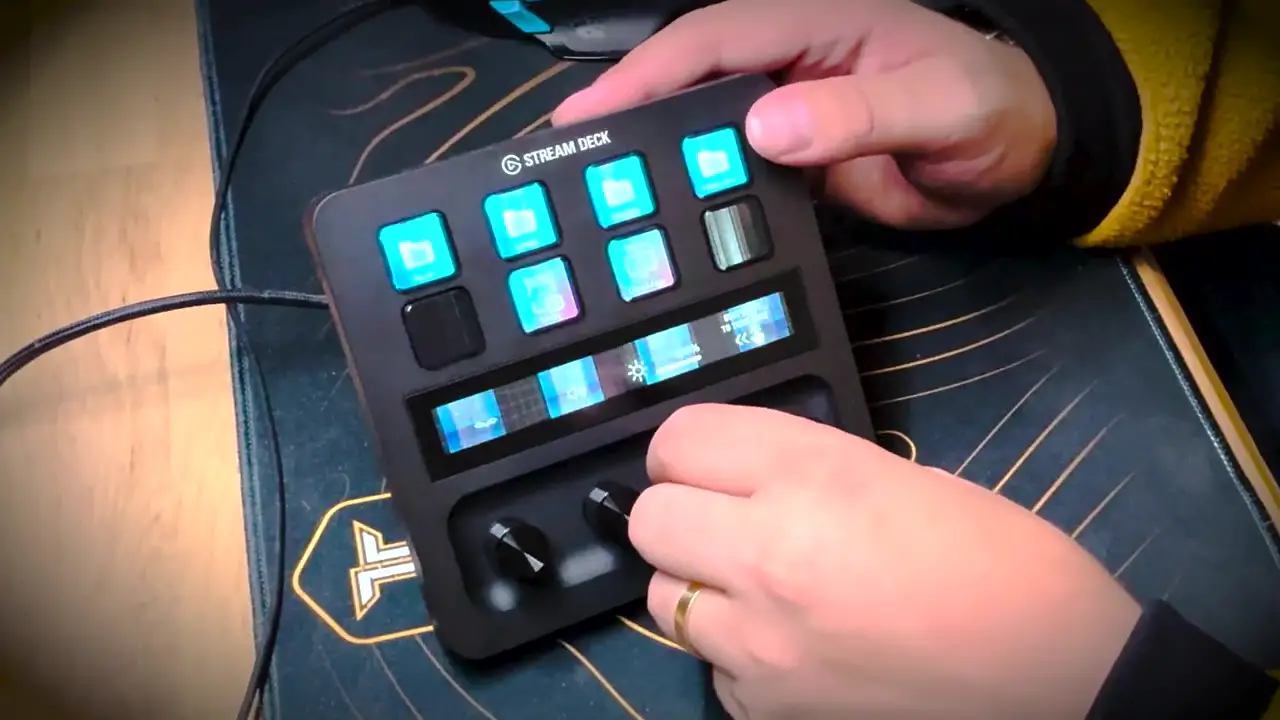
When I first plugged this in, the Elgato logo appeared (Result!), but the screen displayed pixel issues and flickering, damn! Despite the broken display, the buttons and dials worked perfectly. My goal was to restore the screen to without spending more than the device’s retail price, my budget was £100 before I gave in.
Initial Diagnosis
- Firmware Update:
I updated the Stream Deck software and firmware to rule out any software-related issues. Unfortunately, the screen remained broken. - Testing Colors:
I applied different icons and colours to the screen, noticing that some colours displayed better than others. This pointed to a hardware issue with the LCD screen itself.
Disassembly
Tools Used:
- Plastic pry tools
- Precision screwdriver set
- Anti-static mat
Steps:
- Remove the Stand:
Unscrew the two Phillips screws at the bottom. - Inspect for Hidden Screws:
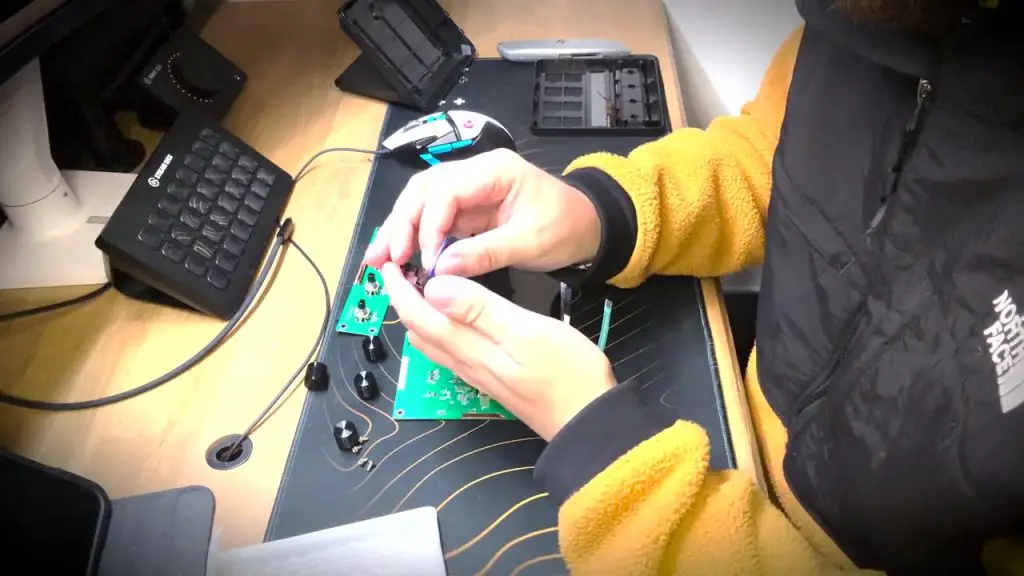
Checked under the rubber grommets and sticker—no screws there. Instead, the device is held together by a seam around the edges. - Pry Open the Casing:
Using a plastic pry tool, I gently popped open the Stream Deck, revealing the internals. - Disconnect Ribbon Cables:
Carefully disconnected the ribbon cables connecting the screen and buttons to the main PCB.
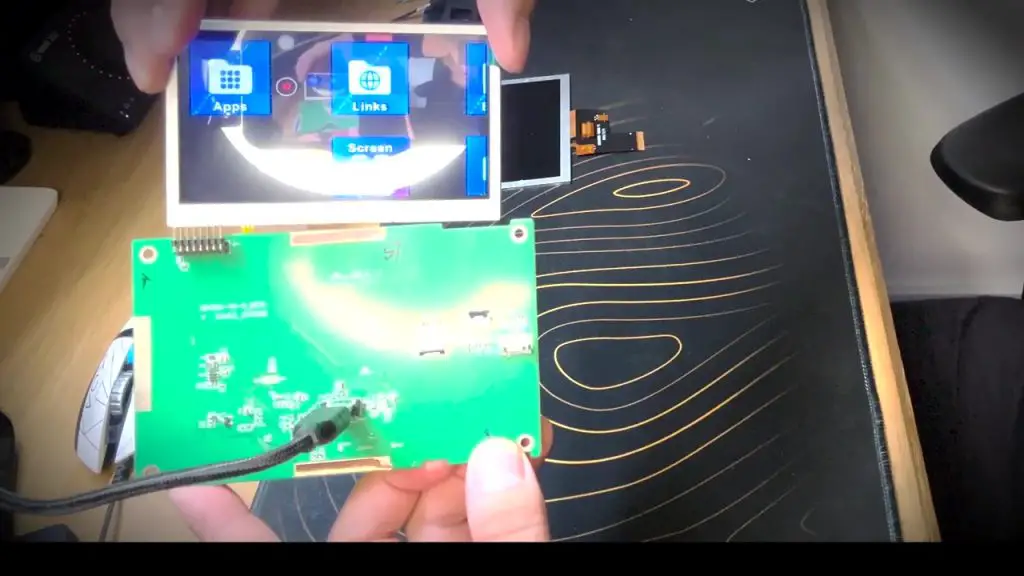
The Screen ordered from Ali Express was a lot smaller than advertised!
The Hunt for a Replacement Screen
After identifying the issue as a faulty LCD screen, I searched for a replacement:
AliExpress Screen (£15):
The first screen I ordered was completely wrong—a see-through LCD with the wrong connectors.eBay Screen (£8):
This screen fit the connector but was the wrong size, making it unusable for the Stream Deck.- Raspberry Pi Screen from Pi Hut (£29):
This screen was a perfect match in size, connector type (40-pin), and resolution.
Replacement and Testing
Steps:
- Install the New Screen:
Connected the replacement screen to the PCB and secured it with ribbon cables. - Test Functionality:
Plugged in the Stream Deck, and to my delight, the screen powered up with vibrant colors and no flickering. - Reattach the Touch Digitizer:
The touch functionality is controlled by a separate sensor attached to the screen, which I reconnected successfully.
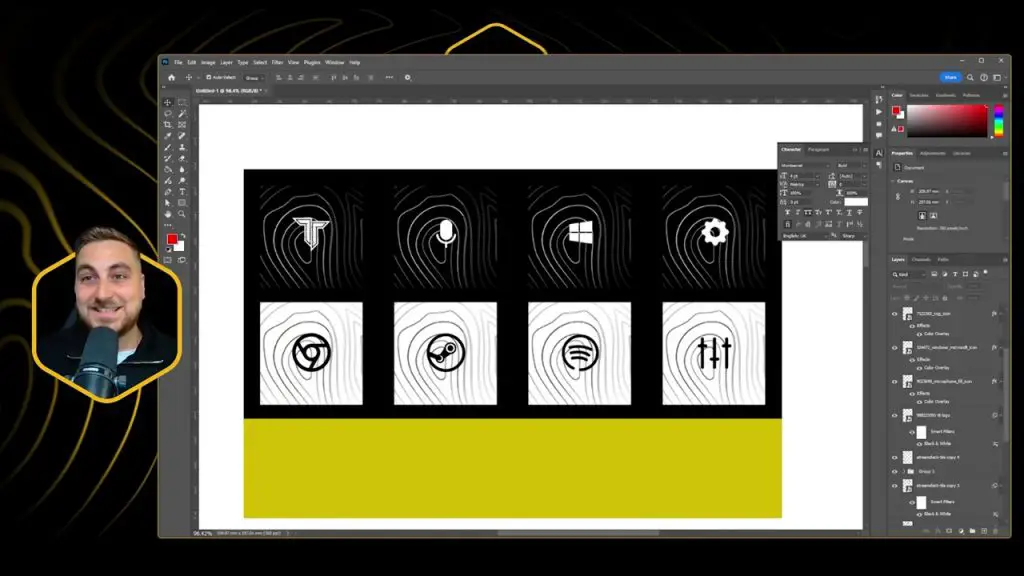
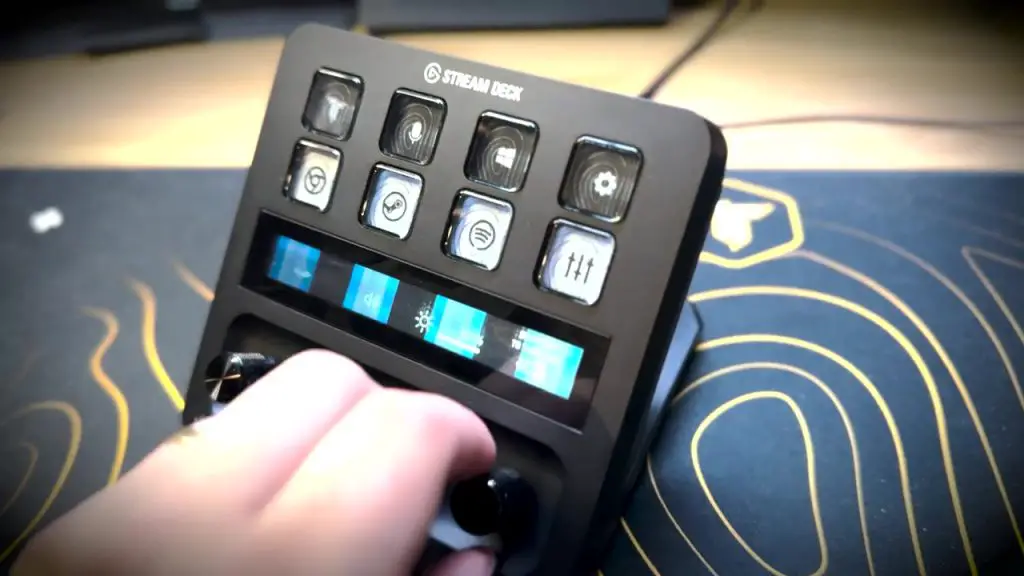
Temporary Fix While Waiting for Parts
While waiting for the correct screen, I created a temporary fix to keep the device functional. Using Photoshop, I designed and printed a static overlay with icons for the eight buttons. I placed it behind the touch sensor, so the touch pad still worked, and it covered the broken screen. Not ideal, but this allowed me to use the Stream Deck for basic tasks.
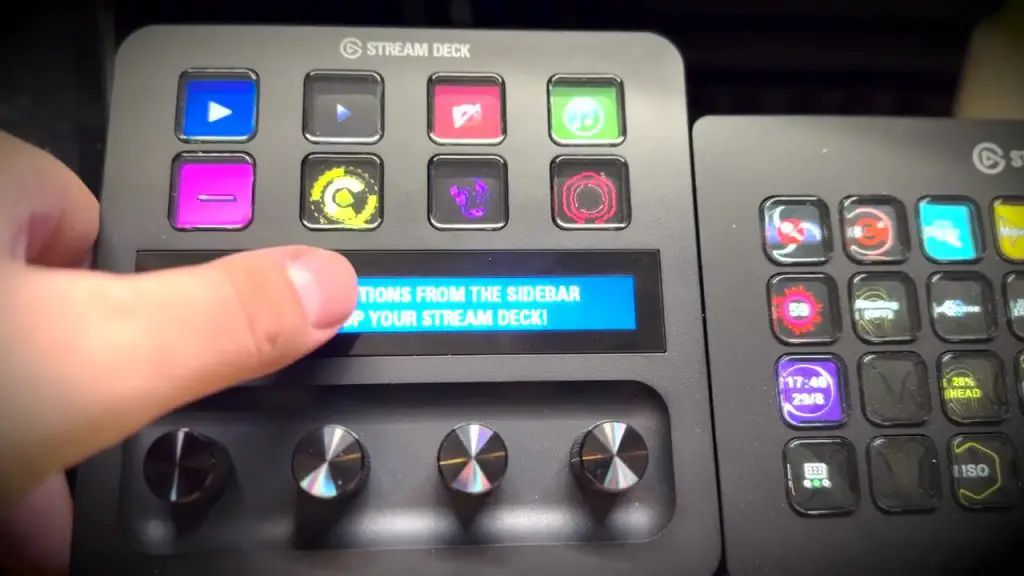
Final Results
The repaired Stream Deck Plus works even better with the new screen, and the colors are even more vivid than my existing Stream Deck XL. It also has a higher refresh rate, not that matters too much I won’t be gaming on it. Anyway, the final cost was:
- Stream Deck Plus (Auction): £55
- AliExpress Screen: £15
- eBay Screen: £8
- Pi Hut Screen: £29
- Total: £107
For under £110, I now have a fully functional Stream Deck + at a fraction of the retail price!
Lessons Learned
- Always Check Compatibility:
Ensure replacement parts match specifications like size, resolution, and connector type. - Be Patient with Repairs:
It took multiple attempts and parts to get it right, but the effort paid off. - Temporary Fixes Can Be Creative:
The printed overlay allowed me to use the device while waiting for the final part.
Tools and Parts Used
Final Thoughts
Repairing a Stream Deck Plus wasn’t easy, but it was very verysatisfying. For anyone facing similar issues, I hope this guide inspires you to tackle repairs rather than discarding broken tech. With patience and the right tools, you can breathe new life into damaged devices.
If you enjoyed this breakdown, consider subscribing to my channel and checking out my other videos, including my original high-end auction gear unboxing.
Let me know in the comments if you’ve attempted a similar repair, and feel free to share your tips or questions!
Keywords: Stream Deck Plus repair, fix broken Stream Deck, LCD screen replacement, Elgato Stream Deck, Stream Deck Plus teardown, budget tech repair, auction tech finds, Raspberry Pi screen replacement