Welcome back to Project Cellar, where the transformation of an old, damp coal shoot into a stunning gaming sanctuary continues. In this episode, we tackle major upgrades, including installing a recessed TV, mounting LED lighting, setting up ventilation, and adding some much-needed decor.
Let’s dive into the details of this week’s progress!
1. Building the Recessed TV Wall
The highlight of this week’s work was creating a flush-mounted TV setup within the wall.
- Frame with Hinges: To maintain access to the rear wiring and ventilation, I installed a hinged frame. This allows the TV and its frame to swing open when needed.
- Structural Support: Since the MDF panel holding the TV wasn’t strong enough alone, I reinforced it with bracing wood strips.
- Adjustments: After fitting the TV bracket, I realised the depth wasn’t enough. To resolve this, I extended the wall by adding strips of MDF, creating a perfectly flush mount.
2. Ventilation Installation
Proper airflow is essential for the comfort of the room and the longevity of my equipment.
- Inline Fans: Installed two fans—one to extract hot air and one to pull in cool air.
- Positioning: The extraction fan was placed near the ceiling for maximum efficiency, with ventilation routed to an exterior air brick.
- Noise Concerns: While the fans are effective, they proved to be noisier than expected. I’ll explore solutions, such as insulated ducting, to reduce the sound.
3. Installing LED Lighting Channels
Lighting is key to setting the ambiance of a gaming room.
- Wi-Fi-Controlled LED Strips: Installed LED strips in ceiling channels, allowing for customizable lighting via a smartphone app.
- Channel Diffusers: The goal was a soft, even glow, but the original LEDs were spaced too far apart, creating unwanted spotting.
- Upgrade: Switched to a new rope light-style LED, which offers seamless illumination and perfectly fits the channels.
4. Ceiling Plastering
Plastering the ceiling proved to be one of the most challenging tasks yet.
- First Attempt: My initial skim coat was far from perfect, but persistence paid off. After sanding and reapplying plaster, the result is a smooth, professional-looking finish.
- Spotlights: With the plastering complete, I installed dimmable LED downlights, finally clearing the dangling fixtures that had been a hazard throughout the project.
5. Painting and Paneling
The first layer of personality is now taking shape in the room.
- Charcoal Matte Paint: Applied to create a bold background for the wooden paneling.
- DIY Wood Paneling: Using MDF cut into slats (a budget-friendly alternative to premade panels), I alternated between wood and painted strips for a modern, Scandinavian-inspired design.
Challenges and Lessons Learned
- Lighting Channels: The first set of LED strips didn’t achieve the desired effect. Upgrading to high-density LEDs made a huge difference.
- Ventilation Noise: Inline fans are effective but noisy! Additional dampening solutions may be needed I think!
- Panelling Adjustments: The gaps between the panel slats felt too large, it felt like a prison… so I added filler strips to achieve a more polished look.
What’s Next in Part 5?
In the next episode, I’ll focus on:
- Completing the panelling and painting.
- Finish the room decor and furnishings.
- Sort the Cellar Door out
- Addressing ventilation noise issues.
- Adding finishing touches to bring the gaming haven to life.
- maybe bring desk down? We’ll see…
Tools and Materials Used
Here’s what made this transformation possible:
- LED Strip Lighting: Govee Wi-Fi LED Rope Light
- Plaster and Skimming Tools: Shop here
- Inline Fans: Extractor Fans
- Paneling MDF: Cut to size at B&Q.
- Paint: Charcoal matte and orange accent colours (For now).
- TV Bracket: Wall-mounted for a flush finish.
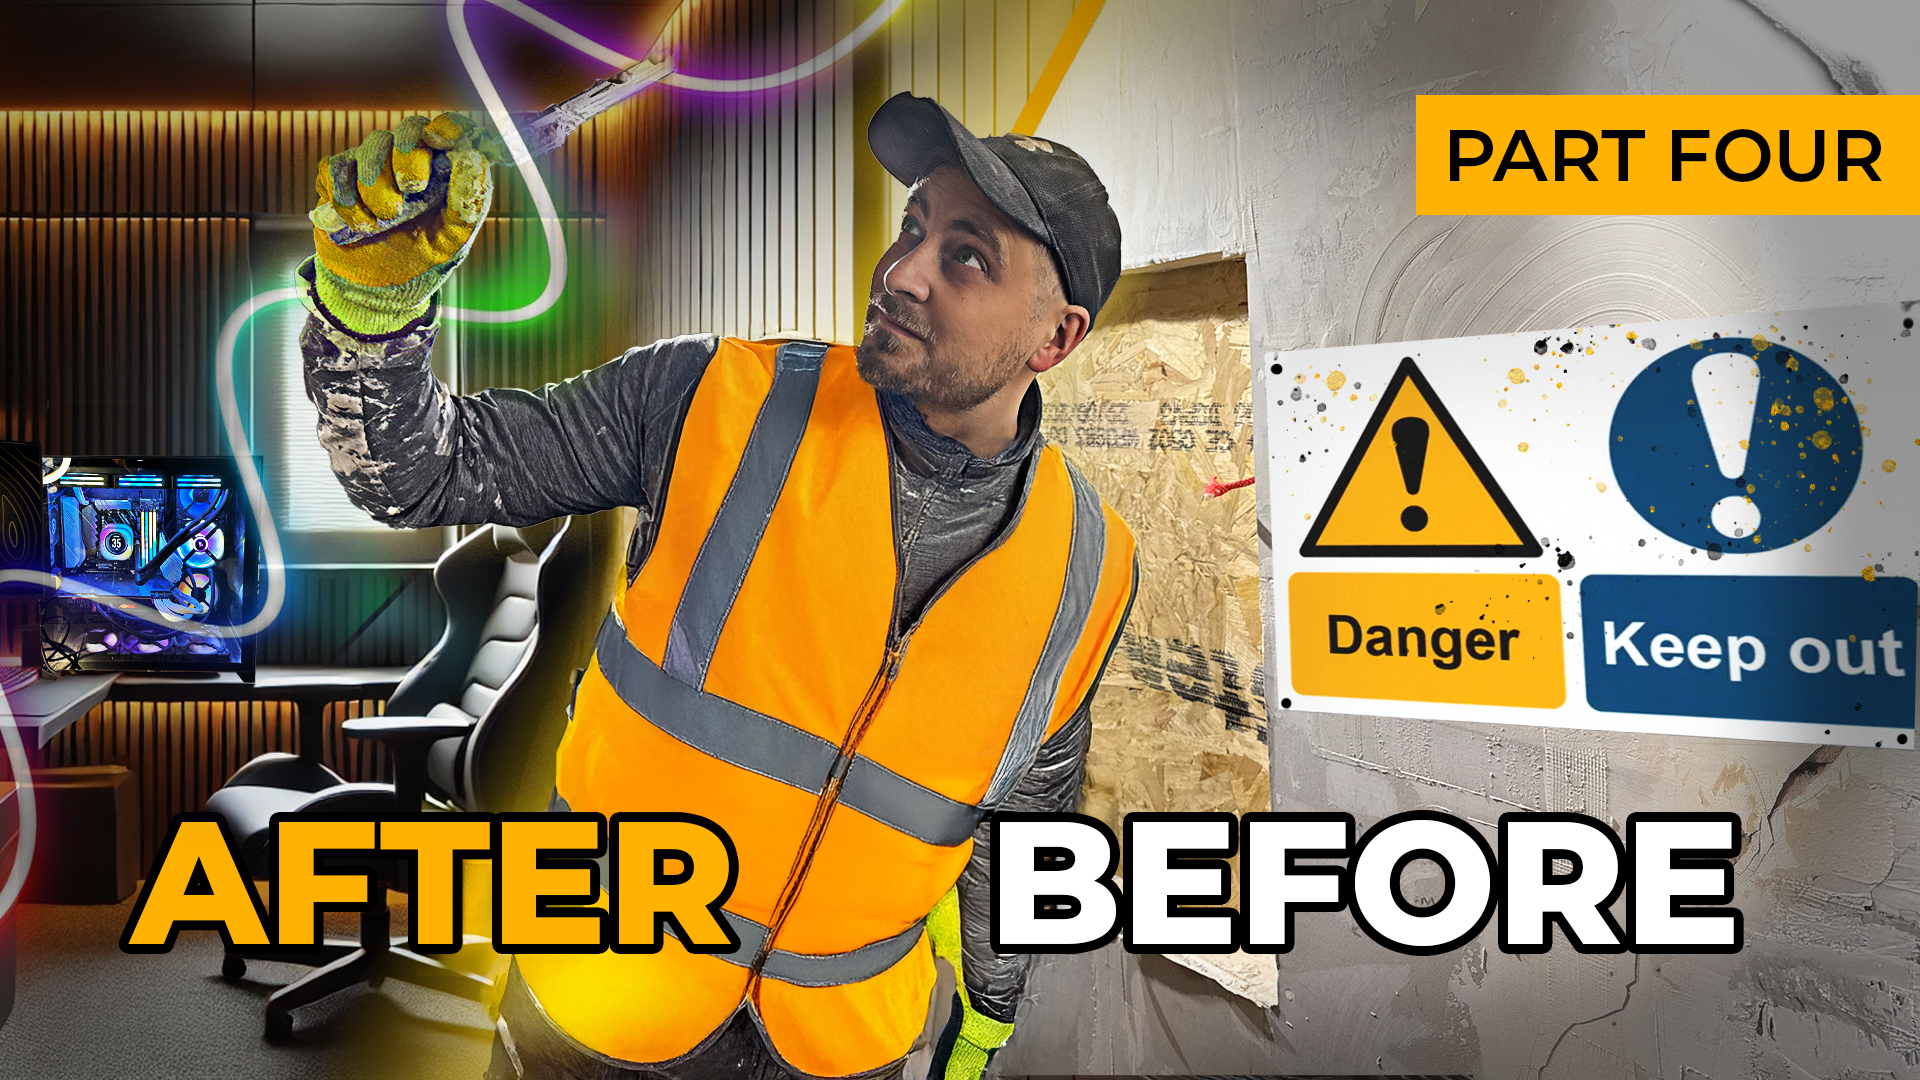
Before and After
The cellar has come a long way from a cluttered, damp dumping ground to a nearly finished, futuristic gaming space. With the recessed TV installed, lighting in place, and panelling underway, it’s finally starting to resemble the vision I’ve had all along.
Thanks for reading, I’ll be back for Part 5!