Welcome back to Project Cellar, where the transformation of an old Edwardian coal shoot into a cutting-edge gaming room continues. In Part 1, we tackled clearing the cellar and installing lighting. Part 2 was all about wall framing and wiring power sockets. Now, in Part 3, we’re building more walls, insulating, plastering, and teasing some exciting design ideas for the space.
Let’s dive into this week’s updates!
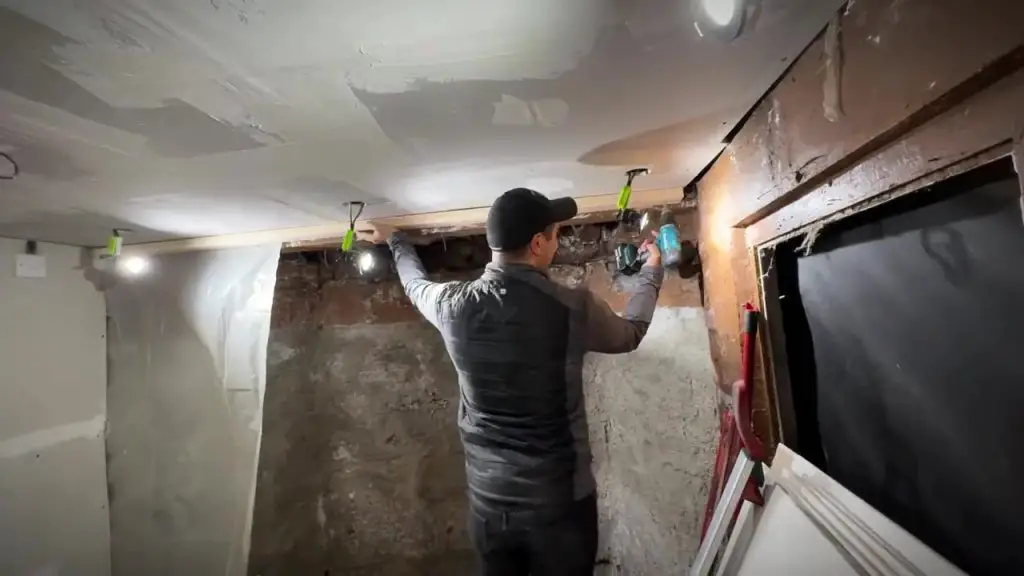
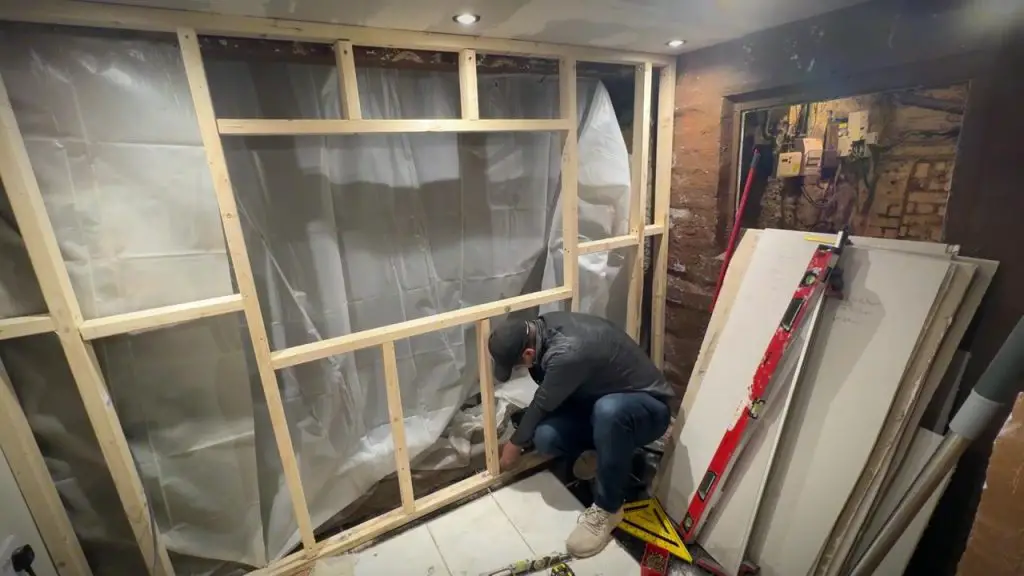
Step 1: Framing and Wall Construction
The first task was to frame and construct the remaining walls in the coal shoot. The goal was to maximize the use of the space while keeping the structure sturdy and ready for insulation and plasterboarding.
Challenges and Fixes
- Warped Timber: Some of the timber I had was slightly warped. To fix this, I used clamps to straighten and secure it to the joists.
- Wall Alignment: I initially ran into issues aligning the studs due to an uneven joist. The solution was to build and square the frame as a single unit, rather than piece by piece, ensuring everything fit properly, something I would recommend if you have the space!
Step 2: Managing Damp and Moisture
As with earlier episodes, damp remains a key challenge in this project. To address it:
- Waterproof Sheeting: Polyethylene sheets were installed behind the stud walls to act as a moisture barrier.
- Gap for Airflow: The framing was intentionally built away from the external walls to allow for ventilation and prevent moisture buildup.
- Coal Shoot Drainage: Water from the coal shoot continues to seep into the room during heavy rain. To resolve this, I plan to block the shoot with an air brick, allowing airflow while preventing water ingress.
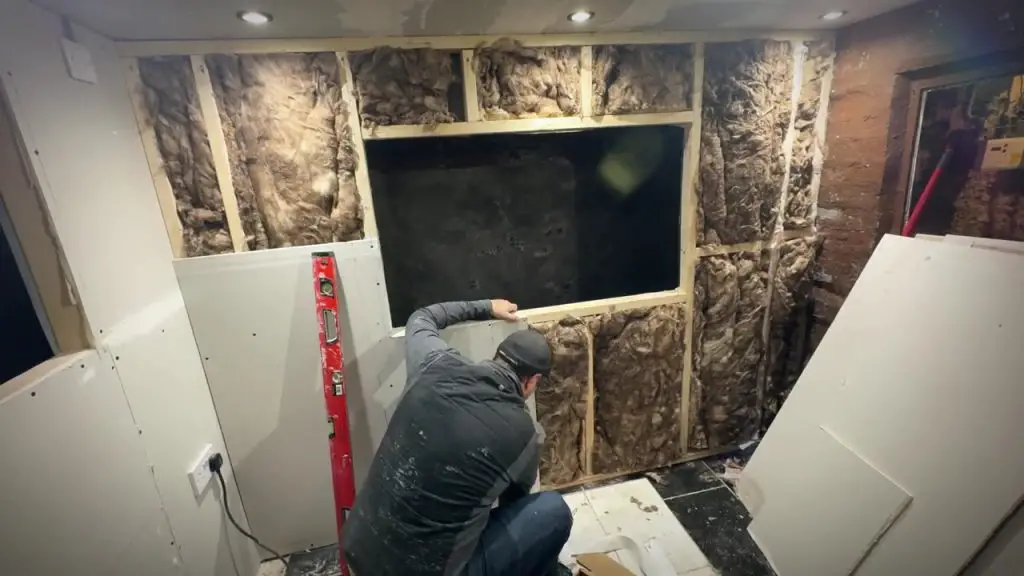
Step 3: Insulating and Plasterboarding
Insulation
With the walls framed and sheeting installed, it was time to insulate.
- Rock Wool Insulation: Used for its excellent thermal and soundproofing properties.
- Foam Sealant: Applied to plug small gaps and ensure a tight fit between insulation panels.
Plasterboarding
Plasterboarding this space was one of the most labor-intensive tasks.
- Alignment: Each plasterboard sheet was carefully measured and aligned to match the joists.
- Reinforcement: Where necessary, additional noggins were added to provide extra support for the plasterboard.
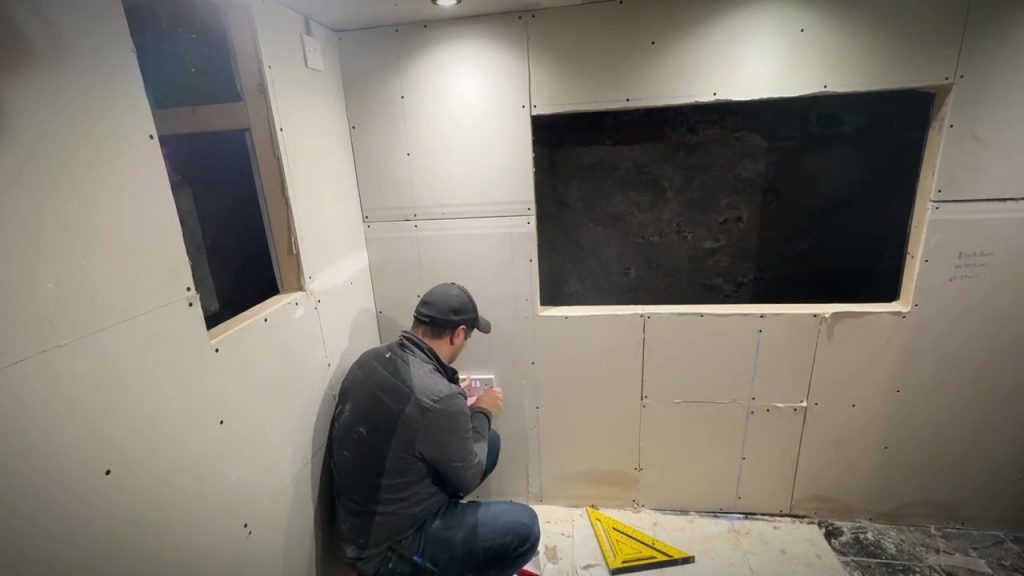
Step 4: Wiring Additional Power Sockets
As the gaming room takes shape, power outlets are a crucial element. In this phase:
- Installed three double sockets, evenly spaced along the walls.
- Wired these sockets to the previously installed fused spur for safety and flexibility.
- Tested all connections using a socket tester to ensure proper wiring.
Pro Tip: For basements, it’s best to position sockets slightly higher off the ground to avoid potential moisture issues.
Step 5: First Layer of Plaster
With the walls up and insulation in place, I applied the first skim of plaster.
- This layer helps smooth out imperfections and provides a solid base for the final skim and paint.
- Expanding foam was also used to seal gaps and reinforce the structure.
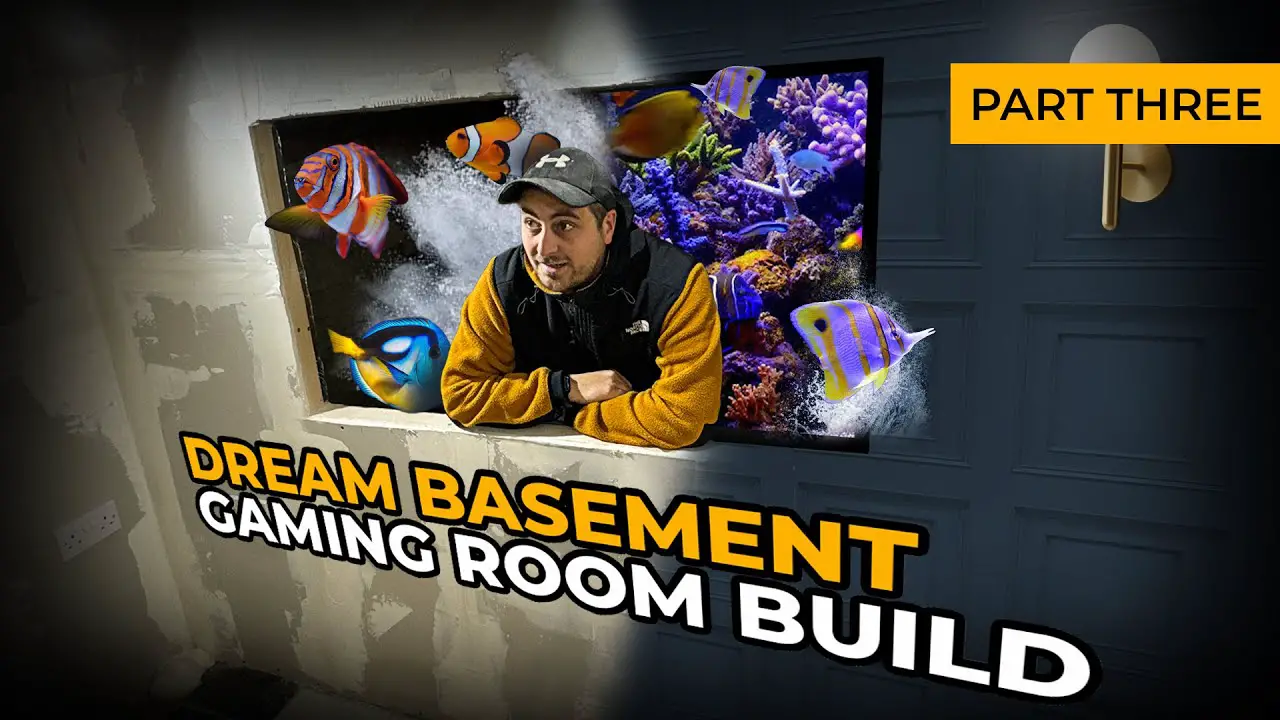
The Big Design Reveal
I’ve been teasing this for a while, but now it’s time to share some design plans for the room.
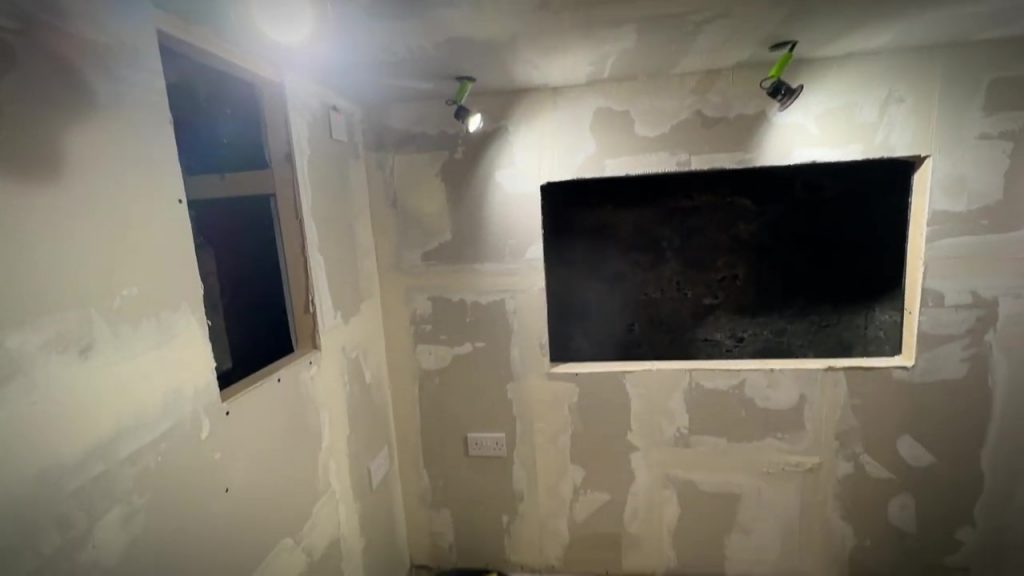
- Built-In TV Wall: A section of the wall will have a recessed Ultra HD 4K TV mounted flush with the surface, creating a sleek, modern look.
- Digital Fish Tank: Instead of a real aquarium (which could introduce moisture issues), the TV will display a looped video of a fish tank. A Raspberry Pi will power the display, making it a low-maintenance solution with a stunning visual effect.
Next Steps
In Part 4, we’ll:
- Complete the plastering with a second skim.
- Finalise the recessed TV installation.
- Begin decorating and adding finishing touches to the space.
Tools Used
Here’s the gear that made this week’s progress possible:
- Chalk Hole Marker: Shop here
- Laser Level Cube: Get it now
- Makita Drill: Buy now
- Expanding Foam: Essential for filling gaps and adding strength.
- Rock Wool Insulation: Find it here
- Socket Tester: Shop here
- Clamps: For securing warped timber during framing.
Final Thoughts
Progress might feel slow at times, but every step brings the cellar closer to becoming the ultimate gaming room. If you’re enjoying this journey, make sure to like and subscribe on Youtube for updates, and let me know in the comments what you think of the TV fish tank idea!
Stay tuned for Part 4, and thanks for watching! 🚀